Quick and easy guide on “How to Pay PPSC Fee through Easypaisa” app. Here we are exploring simple steps to pay ppsc fees through easypaisa app just in minutes.
Step 1: Generate Your PPSC E‑challan
Log in to your PPSC account on their official website.
Start your application and select the position.
Proceed to payment and generate the e‑challan (a voucher with a 10‑digit reference number and fee details).
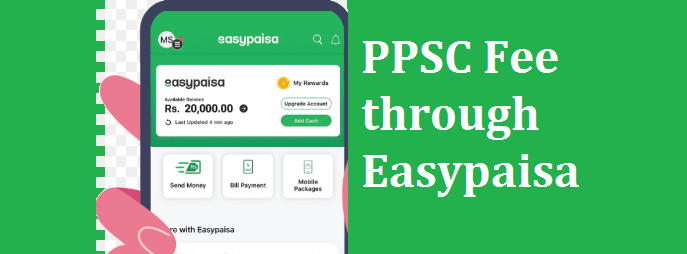
Step 2: Open the EasyPaisa App
Launch the EasyPaisa mobile app on your phone.
Log in if prompted.
Step 3: Go to “Bill Payments” or “Pay Bills”
From the main menu, select “Bill Payments”, “More Payments”, or similar section.
Choose the type of bill: select “Government” or “E‑Challan / Government Fees” (label varies slightly).
Step 4: Select “PPSC” as the Biller
In the list of government bills, scroll or search for PPSC.
Tap on PPSC (Punjab Public Service Commission).
Also Read: PPSC Practice Tests Online
Step 5: Enter Challan Details
Input the 10-digit voucher/reference number from your e‑challan.
Confirm the payment amount matches what is shown on the e‑challan.
Step 6: Confirm & Complete Payment
Tap “Next” or “Proceed” to review details.
Check that the amount and voucher number are correct.
Tap “Pay” and enter your MPIN or confirm via biometrics.
Step 7: Save Your Transaction Receipt
You’ll receive an on‑screen confirmation.
Download or screenshot the digital receipt.
Optionally, save via EasyPaisa’s “History” tab or share to email/storage.
Attach this receipt as proof of payment in your final PPSC application form.
Quick Recap:
| Action | Details |
|---|---|
| E‑challan | Generate via PPSC website |
| EasyPaisa section | Bill Payments → Government/E‑challan |
| Biller name | Select PPSC |
| Voucher number | 10‑digit e‑challan reference |
| Confirm | Check amount, pay, and save receipt |